WebP 변환 - 맥북용 간편 설정
- Development/Mac
- 2021. 1. 21.
맥북 어느 버전부터인지는 모르겠지만, 적어도 2018년 이후 버전 맥북에는 기본적으로 설치되어 있는 유틸리티가 있습니다. 터미널을 열고 아래 명령어로 확인해 보시기 바랍니다. (설치가 안되어 있다면 별도 설치하면 됩니다.)
$ which cwebp
/usr/local/bin/cwebp
WebP 변환 - 기본 모드
cwebp를 실행하면 실행이 됩니다.
$ cwebp
Usage:

   cwebp [options] -q quality input.png -o output.webp

where quality is between 0 (poor) to 100 (very good).
Typical value is around 80.

Try -longhelp for an exhaustive list of advanced options.
위의 명령어를 실행하면 기본적으로 완료입니다.
- cwebp -q 숫자 원본파일명 -o 출력파일명
숫자 자리에는 품질 숫자를 넣습니다. (100이 제일 좋은 숫자)
WebP 변환 - 고급 모드
위의 help 관련 옵션이 안내된 바와 같이, -longhelp 옵션을 줘볼까요?
$ cwebp -longhelp
Usage:
 cwebp [-preset <...>] [options] in_file [-o out_file]

If input size (-s) for an image is not specified, it is
assumed to be a PNG, JPEG, TIFF or WebP file.

Options:
  -h / -help ............. short help
  -H / -longhelp ......... long help
  -q <float> ............. quality factor (0:small..100:big), default=75
  -alpha_q <int> ......... transparency-compression quality (0..100),
                           default=100
  -preset <string> ....... preset setting, one of:
                            default, photo, picture,
                            drawing, icon, text
     -preset must come first, as it overwrites other parameters
  -z <int> ............... activates lossless preset with given
                           level in [0:fast, ..., 9:slowest]

  -m <int> ............... compression method (0=fast, 6=slowest), default=4
  -segments <int> ........ number of segments to use (1..4), default=4
  -size <int> ............ target size (in bytes)
  -psnr <float> .......... target PSNR (in dB. typically: 42)

  -s <int> <int> ......... input size (width x height) for YUV
  -sns <int> ............. spatial noise shaping (0:off, 100:max), default=50
  -f <int> ............... filter strength (0=off..100), default=60
  -sharpness <int> ....... filter sharpness (0:most .. 7:least sharp), default=0
  -strong ................ use strong filter instead of simple (default)
  -nostrong .............. use simple filter instead of strong
  -sharp_yuv ............. use sharper (and slower) RGB->YUV conversion
  -partition_limit <int> . limit quality to fit the 512k limit on
                           the first partition (0=no degradation ... 100=full)
  -pass <int> ............ analysis pass number (1..10)
  -crop <x> <y> <w> <h> .. crop picture with the given rectangle
  -resize <w> <h> ........ resize picture (after any cropping)
  -mt .................... use multi-threading if available
  -low_memory ............ reduce memory usage (slower encoding)
  -map <int> ............. print map of extra info
  -print_psnr ............ prints averaged PSNR distortion
  -print_ssim ............ prints averaged SSIM distortion
  -print_lsim ............ prints local-similarity distortion
  -d <file.pgm> .......... dump the compressed output (PGM file)
  -alpha_method <int> .... transparency-compression method (0..1), default=1
  -alpha_filter <string> . predictive filtering for alpha plane,
                           one of: none, fast (default) or best
  -exact ................. preserve RGB values in transparent area, default=off
  -blend_alpha <hex> ..... blend colors against background color
                           expressed as RGB values written in
                           hexadecimal, e.g. 0xc0e0d0 for red=0xc0
                           green=0xe0 and blue=0xd0
  -noalpha ............... discard any transparency information
  -lossless .............. encode image losslessly, default=off
  -near_lossless <int> ... use near-lossless image
                           preprocessing (0..100=off), default=100
  -hint <string> ......... specify image characteristics hint,
                           one of: photo, picture or graph

  -metadata <string> ..... comma separated list of metadata to
                           copy from the input to the output if present.
                           Valid values: all, none (default), exif, icc, xmp

  -short ................. condense printed message
  -quiet ................. don't print anything
  -version ............... print version number and exit
  -noasm ................. disable all assembly optimizations
  -v ..................... verbose, e.g. print encoding/decoding times
  -progress .............. report encoding progress

Experimental Options:
  -jpeg_like ............. roughly match expected JPEG size
  -af .................... auto-adjust filter strength
  -pre <int> ............. pre-processing filter
변환예제
실제 변환은 다음과 같이 진행됩니다.
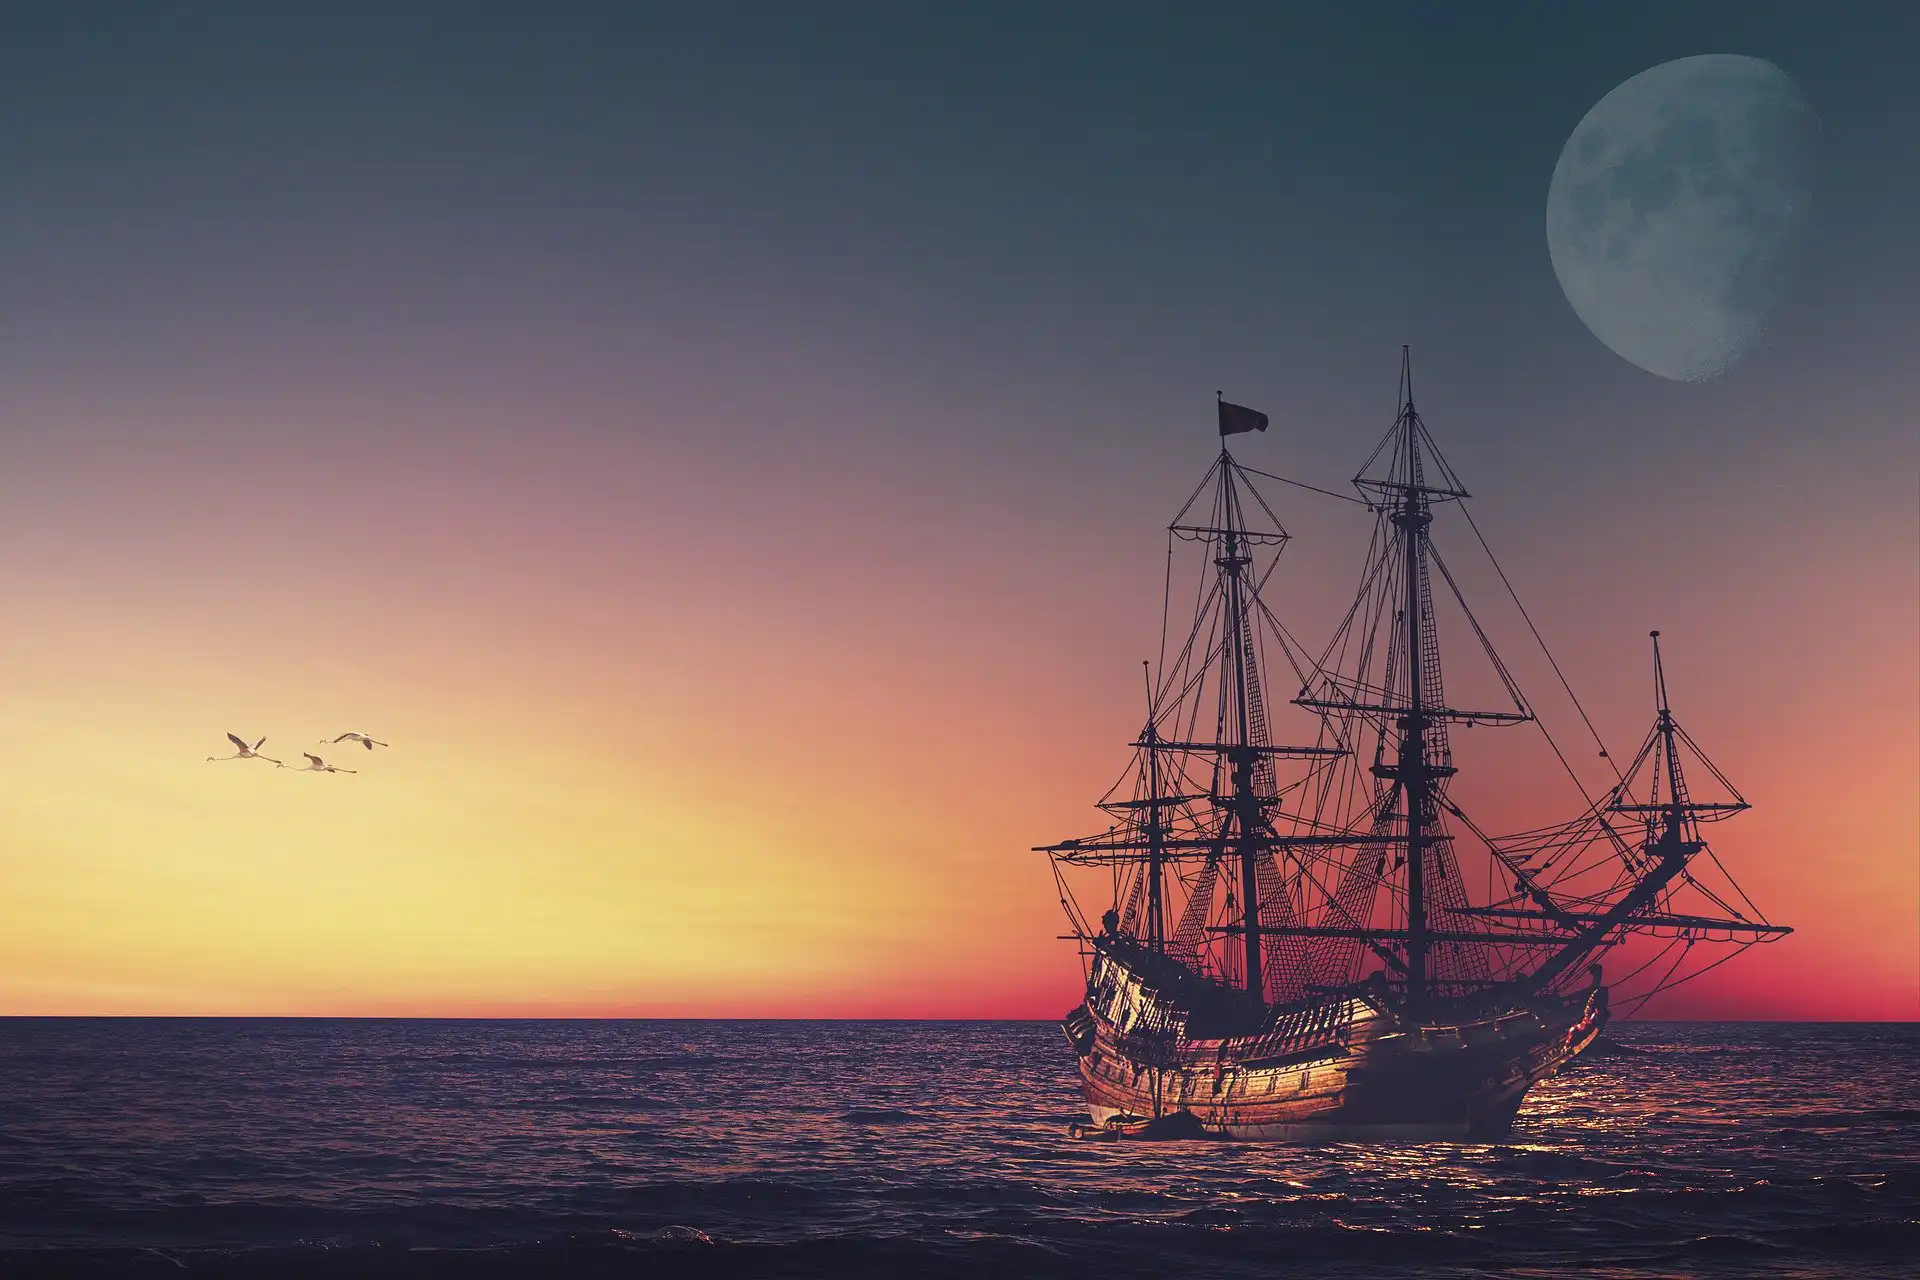
$ cwebp -q 50 sunset-org.jpg -o sunset-converted.webp
Saving file 'sunset-converted.webp'
File:      sunset-org.jpg
Dimension: 1920 x 1280
Output:    122016 bytes Y-U-V-All-PSNR 37.73 42.57 41.08   38.71 dB
           (0.40 bpp)
block count:  intra4:       3548  (36.96%)
              intra16:      6052  (63.04%)
              skipped:      2513  (26.18%)
bytes used:  header:            268  (0.2%)
             mode-partition:  16325  (13.4%)
 Residuals bytes  |segment 1|segment 2|segment 3|segment 4|  total
    macroblocks:  |       7%|       7%|      11%|      75%|    9600
      quantizer:  |      52 |      52 |      44 |      34 |
   filter level:  |      16 |      12 |      18 |      43 |
변환된 이미지를 비교하면 아래와 같습니다.

cwebp precompiled package
혹시 precompiled package를 다운로드 하려면, 아래 링크를 참고하시기 바랍니다. Linux, Windows, Mac용 모두 있습니다.
https://storage.googleapis.com/downloads.webmproject.org/releases/webp/index.html
Homebrew로 설치하려면
맥에서, Homebrew로 설치하려면 다음과 같이 하면 됩니다.
$ brew install webp
편의성을 높이려면?
사실, 위와 같이 커맨드로 하면 편리하지는 않죠. 많은 분들이 zsh를 shell로 쓰겠죠? 저도 zsh를 쓰기 때문에 zsh 기준으로 작성했습니다만, bash를 쓰는 경우라면 zsh 대신 bash로 변경하면 됩니다.
먼저, shell에 PATH를 선언합니다. zsh라면 ~/.zsh_profile에 bash라면 ~/.bash_profile에 아래와 같이 PATH를 선언합니다.
export PATH=$PATH:/usr/local/binAutomator를 실행하고, 파일>신규를 선택합니다.
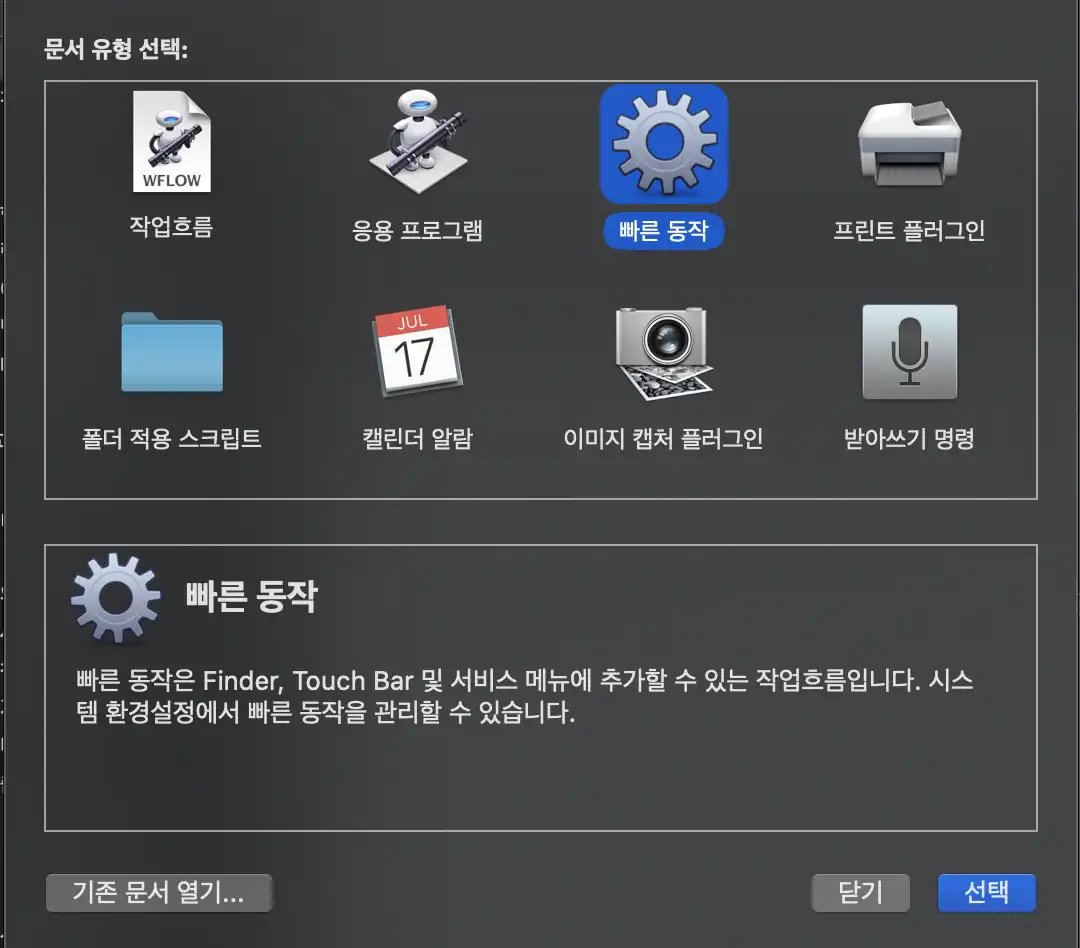
빠른 동작을 선택하고, 선택 버튼을 누릅니다.

- 1) 보관함에서 유틸리티를 고릅니다.
- 2) 셸 스크립트를 선택합니다.
- 3) 오른쪽 탭에서, 현재 수신하는 작업흐름을 이미지 파일로 고릅니다.
- 4) 선택 항목 위치를 Finder로 고릅니다.
- 5) 2번에서 고른 셸 스크립트 실행 아이콘을 5번 화살표 방향으로 드래그&드랍 합니다.
- 6) 셸을 선택합니다. zsh_profile이든 bash_profile이든 본인의 shell을 선택합니다.
- 7) 통과 입력을 변수로 선택합니다.
- 8) 아래 shell 스크립트를 복사해서 셸 부분에 넣습니다.
그리고, 저장합니다. (저는 WebP 변환이라고 이름을 지정했습니다.)
source ~/.zsh_profile
for FILE in "$@"
do
 echo "filename: $FILE"
 EXT=${FILE##*.}
 QUALITY=50 # quality (0-100)
 cwebp -q $QUALITY "$FILE" -o "${FILE/%.$EXT/.webp}"
done
이제 실행해 봅니다. Finder에서 변환을 원하는 파일에 커서를 두고 오른쪽 버튼을 눌러서, context 메뉴를 띄웁니다.
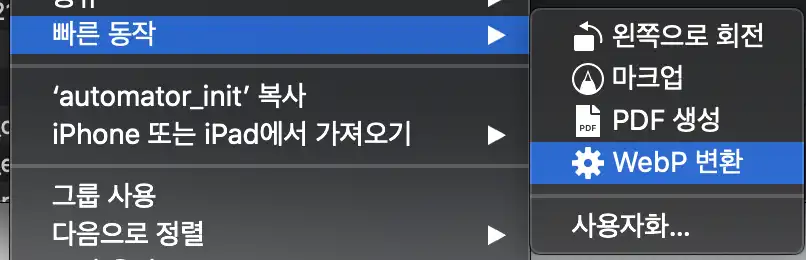
이렇게 파일을 변환할 수도 있고, 또 여러 파일을 한 번에 변환할 수도 있습니다.

위의 스크립트에서, 변환 품질은 50%로 했는데 원하면 다른 값으로 변경합니다.
참고
WebP 변환 이미지가 블로그에서 잘 동작할까?
WebP 변환 이미지가 블로그에서 잘 뜰까? WebP(웹피)로 이미지를 변환하면 좋다던데, 블로그에서 이상없이 잘 될까요? 동기 구글 Page Speed Insights를 사용하면, 내 블로그가 얼마나 최적화되어 있는지
luran.me
WebP 변환 사이트 추천
WebP 변환 사이트를 추천합니다. JPG나 GIF를 손쉽게 드래그 & 드랍하는 것만으로도 WebP로 변환할 수 있습니다. 파일 포맷을 선택하는 사이트들과는 달리 편할 겁니다. 마치, JPG/PNG를 압축하느라 썼
luran.me
WebP 변환 윈도우즈 프로그램 추천
JPG/GIF 이미지를 WebP 변환하려면 윈도우즈 환경에서는 이 프로그램 하나면 될 것입니다. 꿀뷰 (꿀뷰 공식홈페이지)[https://www.bandisoft.com/honeyview/] 공식 홈페이지에 접속해서 아래와 같은 링크를 찾
luran.me
'Development > Mac' 카테고리의 다른 글
| 맥북 그림판이 있다고? (0) | 2021.10.03 |
|---|---|
| 맥북 32bit/64bit, CPU 아키텍처 확인하기 (0) | 2021.07.05 |
| 듀얼모니터 창이동 단축키 프로그램 (맥북) (0) | 2021.04.03 |
| 맥북 알프레드 (alfred) - 편리하게 에어팟 연결/해제 제어하기 (1) | 2021.01.31 |
| 맥북 업데이트 후 에러 해결 - xcrun: error: invalid active developer path (0) | 2021.01.23 |
| 맥용 압축 프로그램 추천 - Keka (무료) (0) | 2021.01.08 |
| 맥북에서 블루투스 멀티 페어링이 동작하지 않을 때 (0) | 2020.11.26 |
| OSX에서 스크린캡처 경로 변경하려면 (0) | 2020.11.11 |